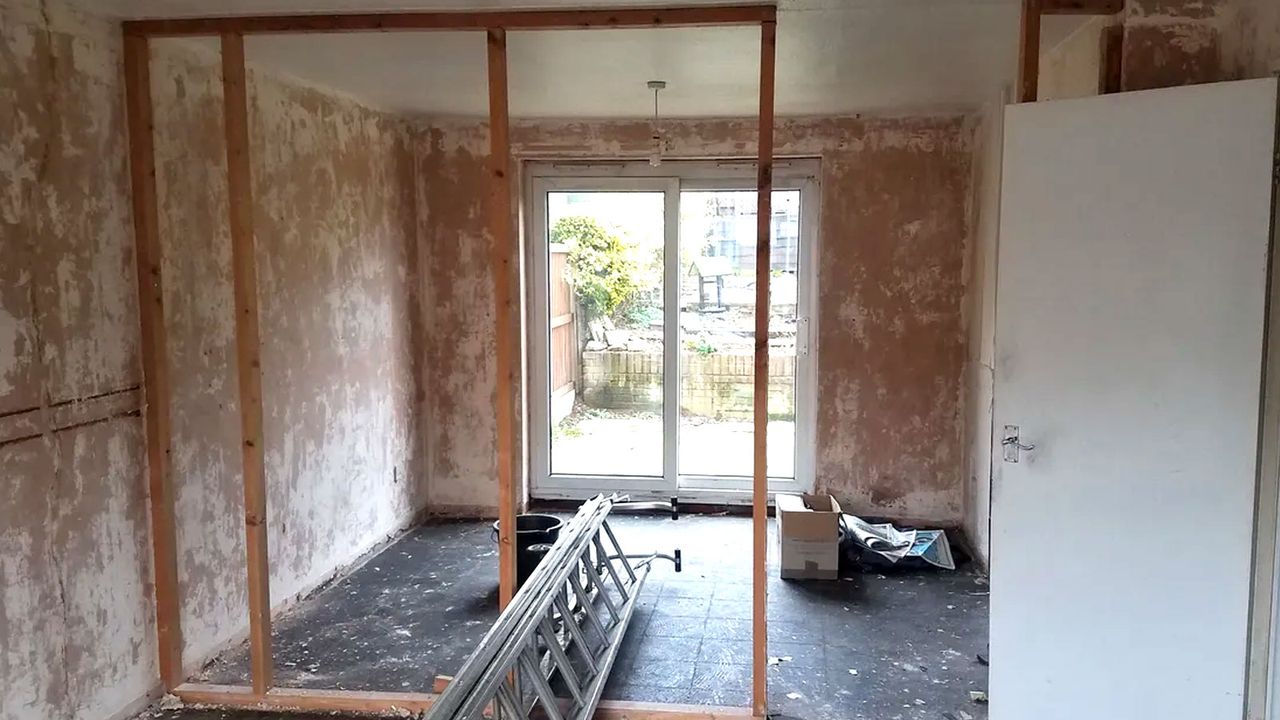
Partition walls are a smart and cost-effective way to divide up a space. You can create smaller, quieter, and more private spaces, or add zones to a large open-plan layout. And a competent DIYer can tackle building them themselves with the help of this guide.
Timber partition walls are the popular choice when renovating a house as they allow for the easy introduction of wiring, soundproofing materials and insulation. And with some forward planning, you can quickly add to the layout to build a bespoke frame for shelves and storage. But they aren’t the only option.
Here we look at how to build a timber partition, when to use a solid wall partition and mention how room dividers are an alternative option.
Choosing a stud partition wall
One of the first things anyone looking to build a new internal divide in their home will think about is how to build a stud wall.
Stud walls are quick and relatively simple to build, allow you to hide pipes and wires within their structure, and are ideal for hanging wall-hung sanitaryware. Before you begin building a stud wall, gather the correct tools.
Tools to build a stud partition wall
- Saw
- Hammer (like this STANLEY Fibreglass Claw Hammer from Amazon)
- Nailgun (optional)
- Utility knife (such as this OX TOOLS Heavy Duty Folding Knife from Amazon)
- Spirit level
- Pencil
- Workbench
- Square (like this Presch Carpenters Square from Amazon)
- Large-bladed filler knife
Shop these tools to build a stud partition wall
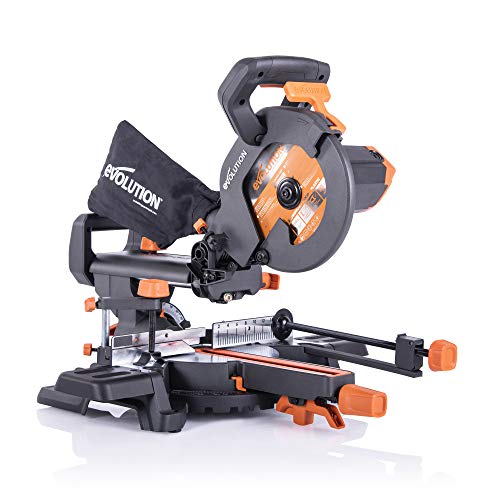 BUDGET-FRIENDLY
A budget friendly corded mitre saw equipped with a 210mm tungsten carbide tipped (TCT) blade that cuts wood, aluminium, embedded nails, plastic and more.
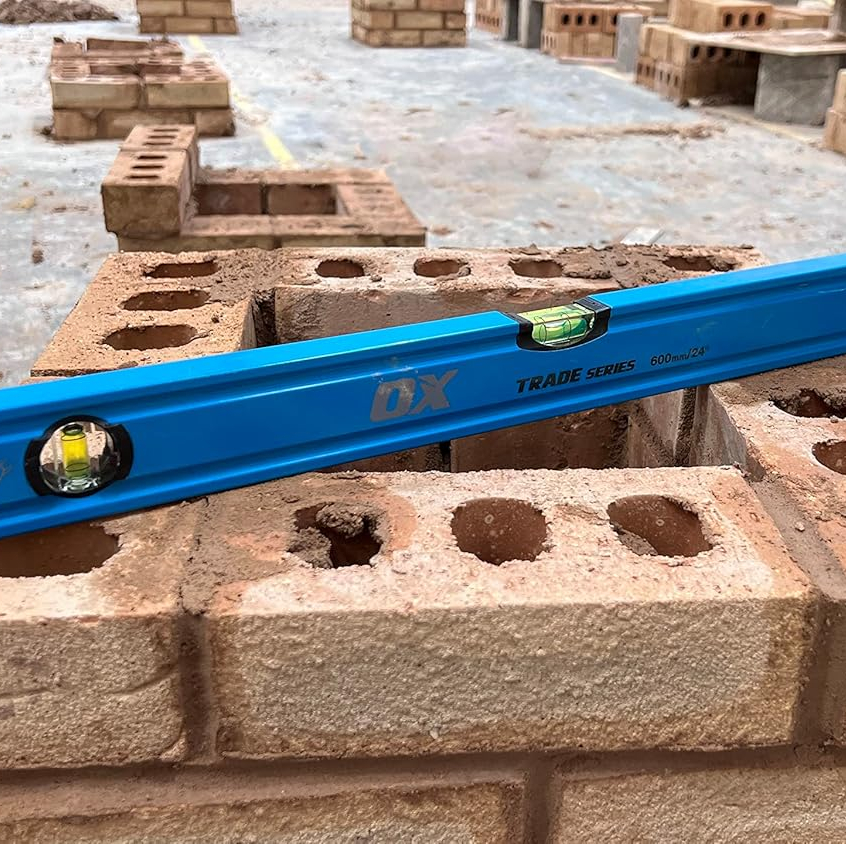 600mm SPIRIT LEVEL
A strong, durable spirit level featuring a lightweight aluminium profile. Includes shock absorbing end caps and high accuracy three solid acrylic vials for quick and precise readings.
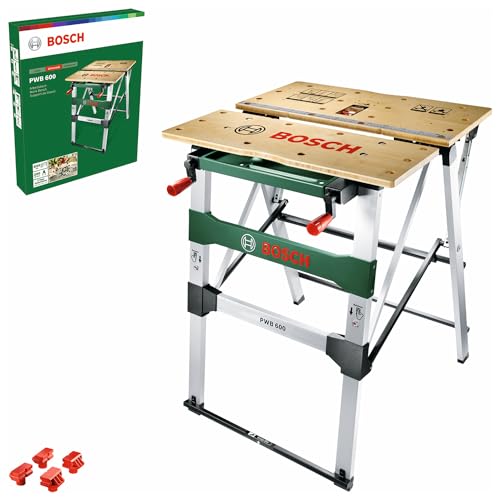 FOLDABLE & PORTABLE
This work bench comes with a practical folding mechanism for quick setup and take down. Includes 4 clamping jaws and a split top for holding materials horizontally and vertically.
Materials for a stud wall
- Plasterboard (like this Gyproc Standard 12.5mm Plasterboard from B&Q)
- Studwork timber
- 100mm countersunk cross-head wood screws and nails
- Jointing tape
- Joining compound
Mark Irving, building specialist at Build & Plumb shares the timber commonly used, “Interior stud walls in UK homes are typically constructed using C16 or C24 graded softwood timber, and are usually 38 x 63mm sections, though this depends on the wall’s height and structural needs.” If a sturdier wall is needed, the frame is often made from 75mm x 50mm or 100mm x 50mm timber.”
To finish the frame, you’ll need plasterboard shares Irving, “The frame is often finished with a 12.5mm plasterboard, offering rigidity and sound reduction.” He adds, “Standard plasterboard is ideal for most rooms, though I would recommend choosing moisture-resistant boards for kitchens and bathrooms, and acoustic boards in rooms where sound insulation is important.”
The final part in the jigsaw is insulation shares Irving, “Mineral wool insulation (such as this Rockwool RWA45 Stone Wool Insulation from B&Q) is typically installed between studs, helping to improve both acoustic performance and thermal efficiency in homes.”
Steps to building a stud partition wall
1. Locate joists
Once you have ascertained where the new wall will go, it is useful to use an electronic detector to locate your joists, wires, and pipework. If you are planning to build a wall that runs parallel to your joists, it will need to be directly above one of them. Next, mark the position for one edge of the stud wall on the floor or a skirting board.
2. Mark the head plate
Fix or hang a plumb line at the mark, then use it to draw a line on the wall right up to the ceiling. You should also make a mark on the ceiling.
Hammer a nail in the ceiling as close to the wall junction as you can before measuring and marking the other side of the ceiling. Draw a pencil or chalk line as a guide for the new head plate position using the two marks you made as a guide.
Steve Jenkins, resident DIY expert, explains what a head plate is: “A head plate is the piece of timber that sits at the top of the stud wall and is typically attached to a timber ceiling joist.” He adds, “They are also known as ceiling plates.”
Check the position of the joists again and mark the points where you will be fixing the new head plate (if the wall runs under a parallel joist, these should be at 400mm intervals).
3. Fix head plates
Cut the timber for the ceiling plate so that it fits exactly between the walls. Holding the plate in place, mark the fixing points along it..
Drill clearance holes for the screws at the marked points along the head plate before fixing it in position along the edge of the pencil or chalk line you made, using 100mm countersunk cross-head wood screws (like these ForgeFix Multi-Purpose Single Thread Screws from Amazon).
4. Fix floor plate
Next, you need to measure and cut the floor plate timber — this will either fit between the walls or the skirting boards. Jenkins points out, “A floor plate is also known as a sole plate, or is sometimes called a base plate.” He adds, “Ideally, you want to cut the skirting boards so that the floor plate fits flush against the wall.”
Then nail or screw it to the floor at 400mm intervals. If you are fixing it to a solid floor, you’ll have to use a drill with a masonry bit and use Rawl plugs and screws.
5. Cut end studs
Now you can measure and cut the end studs. Jenkins shares, “These are the studs that fit against the wall and between the floor and head plates to create a frame.” Measure the distance between the new head and floor plates on either side of the frame before cutting two studs.
Place each of these next to the lines you drew on the walls. If either stud is to sit next to a skirting board, mark the depth of the skirting on the stud and cut a notch in it with a tenon saw so it can be placed neatly over the skirting. Alternatively, use a multi-tool (like this Enventor Oscillating Multi-Tool from Amazon) with a saw blade to cut the skirting board.
6. Fix end studs
Use a drill to make clearance holes in the studs, and mark their positions on the walls. Ideally, you want the first fixing to be made 100mm up from the floor and 100mm down from the ceiling. Fixings should be around 410mm-450mm apart.
Drill into the points you marked on the walls, then insert plugs and position and screw in the two end studs.
7. Add studs
Now you can fit the remaining vertical studs. Mark the floor plate to indicate where the studs will sit — 600mm apart for internal walls. It is handy to nail a block of timber to the floor plate to one side of each vertical stud mark, as it makes studs easier to fit.
Measure and cut the first stud. Hold against the block supports and attach them to the floor plate using 100mm nails or screws added at an angle from either side of the stud. You should attach them to the ceiling in the same way. Repeat for each stud.
8. Insert noggins
Now you can insert your noggins. Measure the pieces of wood to fit horizontally between your vertical studs and fit them roughly halfway between ceiling and floor, staggering them slightly to make nailing easier.
If you are planning to fit a socket or switch into a metal box in your wall, you can fit a noggin to support it. The same principle applies if you plan to install sanitaryware or heavy wall units. Add extra noggins where needed.
9. Add plasterboard and finish
Finally, once you have run any pipes or cables within the wall, you can fit your plasterboard to either side of the frame. You should use 12.5mm thick plasterboard. For more eco-friendly options, check out our guide on plasterboard alternatives.
Cut sheets to fit, remembering that if you are using standard plasterboard, it will usually have a grey side and an ivory side – the latter of which should face outwards. Measure the sheets 12mm less than the floor-to-ceiling height.
Sheets can be fitted horizontally or vertically. If fitting vertically, ensure the joins meet at the centre of a stud. If fixing horizontally, nail the bottom row of boards to the frame before staggering the vertical joints. Fix boards at approx.150mm intervals using 32mm plasterboard nails; stay 15mm from the edges.
After fitting the plasterboard to one side of the frame, add your insulation, then fit the plasterboard to the other side of the frame. The wall is now ready to be plastered and given its final decoration.
When to use solid internal partition walls
For internal walls, one alternative to a timber partition wall is to build a blockwork wall. This is a common method for load-bearing walls, with studwork used elsewhere.
Mark Irving explains where blockwork is commonly used: “They are typically used on ground floors between the kitchen and living areas, or, where heavy fixtures will be mounted, such as bookcases or cabinets.”
He adds, “They can also provide fire resistance and acoustic separation at a higher capacity than timber stud walls. However, they are usually a more expensive option, and can be slower in installation due to the type of materials being used, making timber stud partitions the most common choice for efficiency when time and money are key considerations.”
It is also useful to note that stud walls don’t have to be timber. Steel channels can also be used – they are lightweight and quick to construct.
A stud wall will be finished with plasterboard. To get it ready for decorating, it will need to be skimmed. Check out our modern living room ideas to get a contemporary finish. For a more informal room spilt take a look at our room divider ideas.
Like this article? For more stories like this, follow us on MSN by clicking the +Follow button at the top of this page.